
Convert Lovable to WordPress in the html2wp app, step by step
This guide shows how to convert a Lovable project to WordPress in the html2wp app on a Mac. You don't need a terminal or any programming. You add the project as a ZIP, pick Flash or Full, and at the end you download a finished WordPress theme that looks like your design.
What you need to convert Lovable to WordPress in the app
- A Mac with Apple silicon (M1 or newer) and macOS 12 or later.
- A ChatGPT account. The AI on your own subscription does the conversion, so you don't pay us for credits or tokens.
- The Lovable project as a ZIP or a folder with the source code. The steps to get it are below.
- Disk space. Each running conversion takes up several GB.
You don't have to install Docker Desktop in advance, because the app downloads and installs it itself when needed. The free tier converts three sites of up to five pages each, which is enough to convert a small Lovable site to WordPress. For client work, larger sites and a WooCommerce shop you need a Pro licence from the pricing page.
Installing the html2wp app
Download the app for Mac, open the DMG file and drag html2wp into the Applications folder. In this guide, button names are written exactly as they appear on screen.
Preparing the environment
In the app's Settings, click Prepare environment. The app downloads and starts Docker if needed, then loads the conversion environment and the WordPress and database images. The first time, this takes a few minutes. Your Mac may ask for your password, and Docker shows its licence terms.
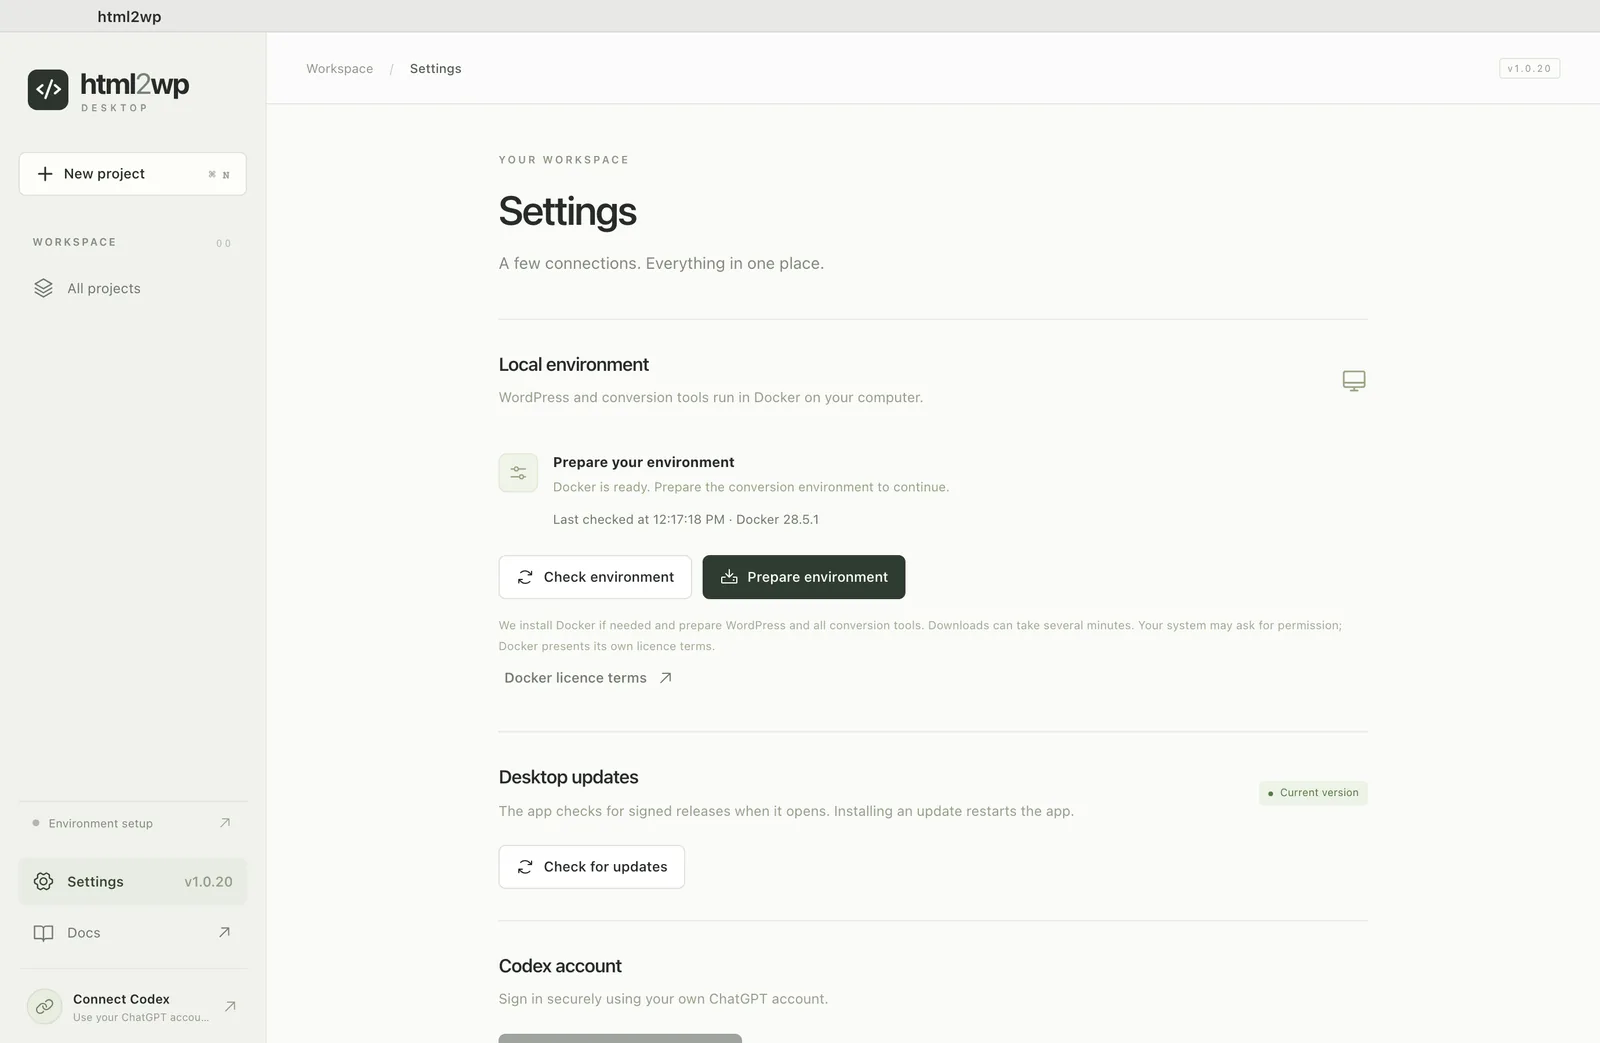
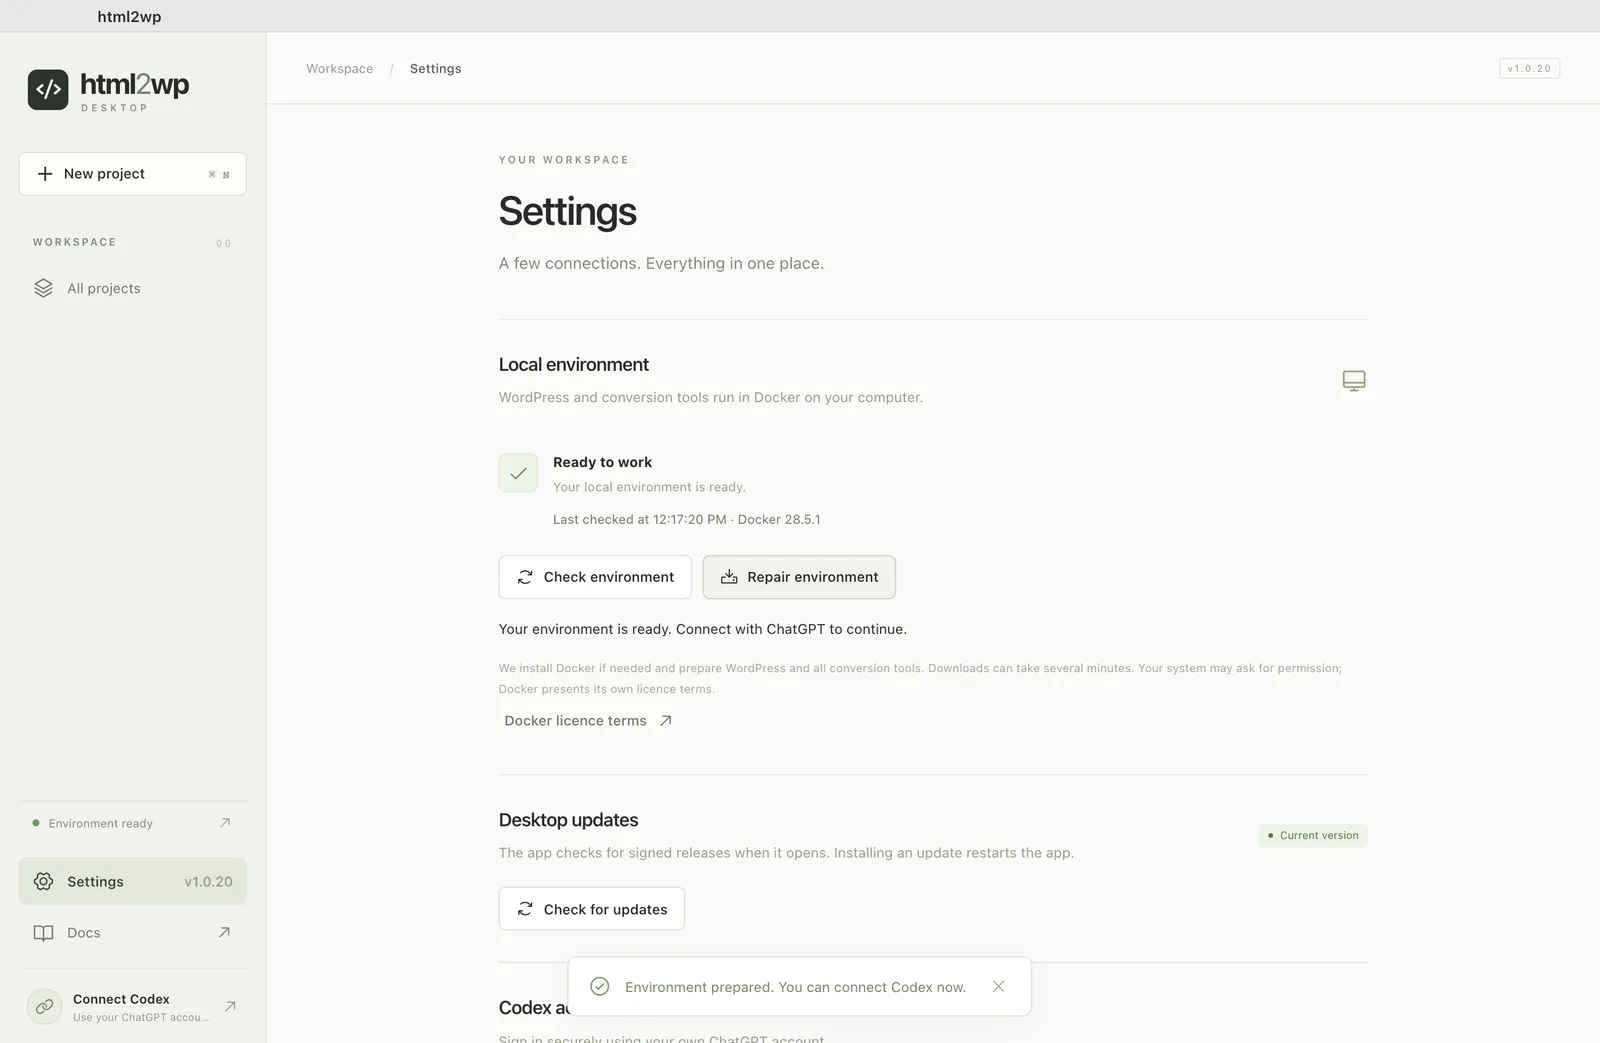
When everything is ready, the app says “Ready to work” and the button changes to Repair environment. You only need it if the environment breaks later.
Signing in with ChatGPT
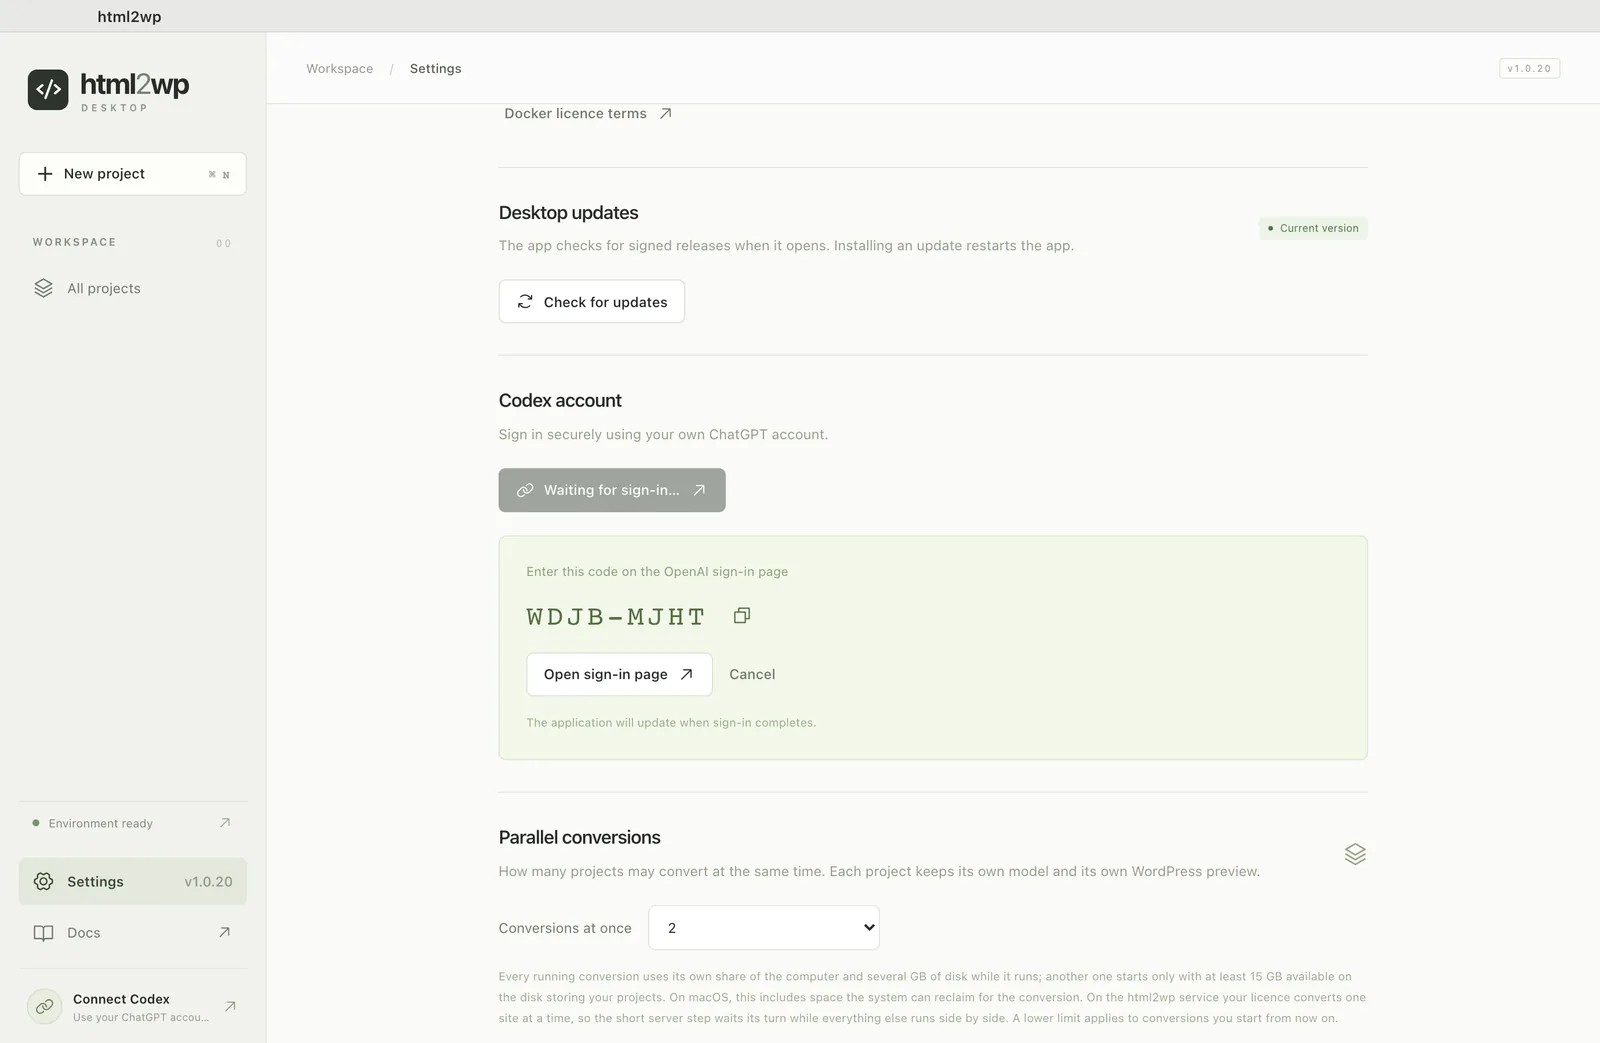
Click Connect with ChatGPT. The app shows you a code, and the Open sign-in page button opens the OpenAI page. Sign in there with your ChatGPT account and enter the code from the app. You type your password only on the OpenAI page, so the app never sees it.
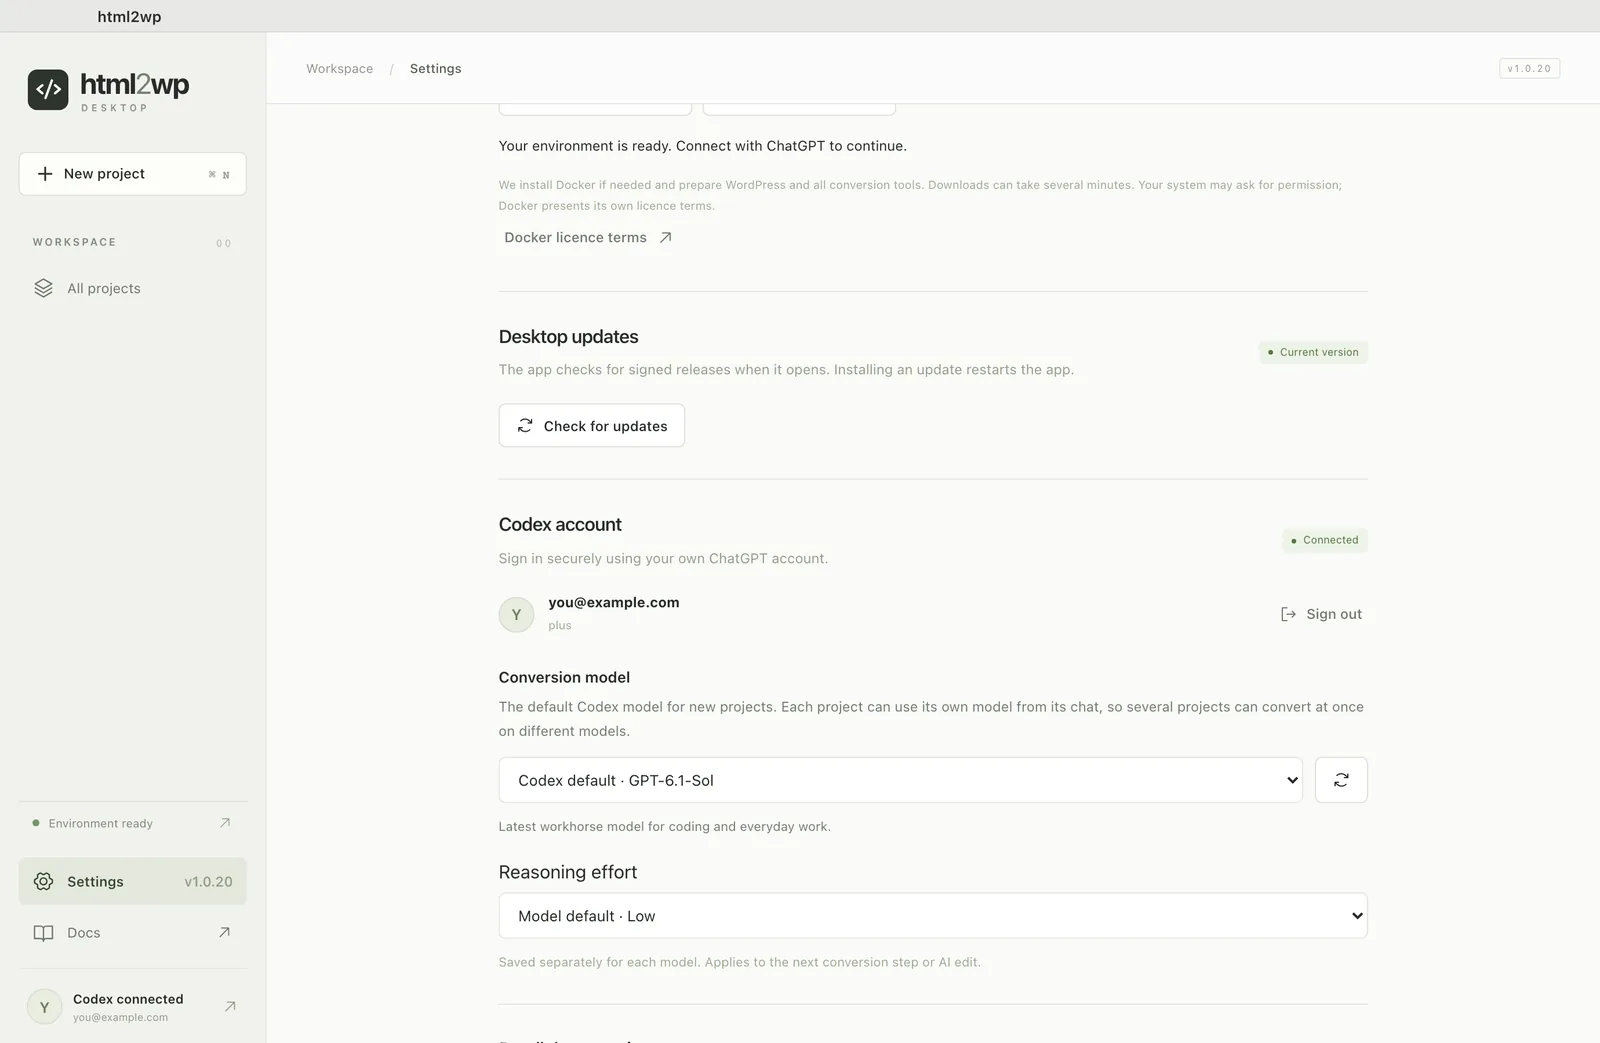
After you sign in, choose the Conversion model and Reasoning effort, or keep the defaults. If you have a Pro licence, enter the key in Settings and click Save & check. The free tier doesn't need a key.
Your Lovable project in the app
The app needs the project's source files, not the address of the live site. Lovable syncs the project to a GitHub repository. Open it on GitHub and download it with Code → Download ZIP. You don't have to build the project or run npm install, because the app does that itself.
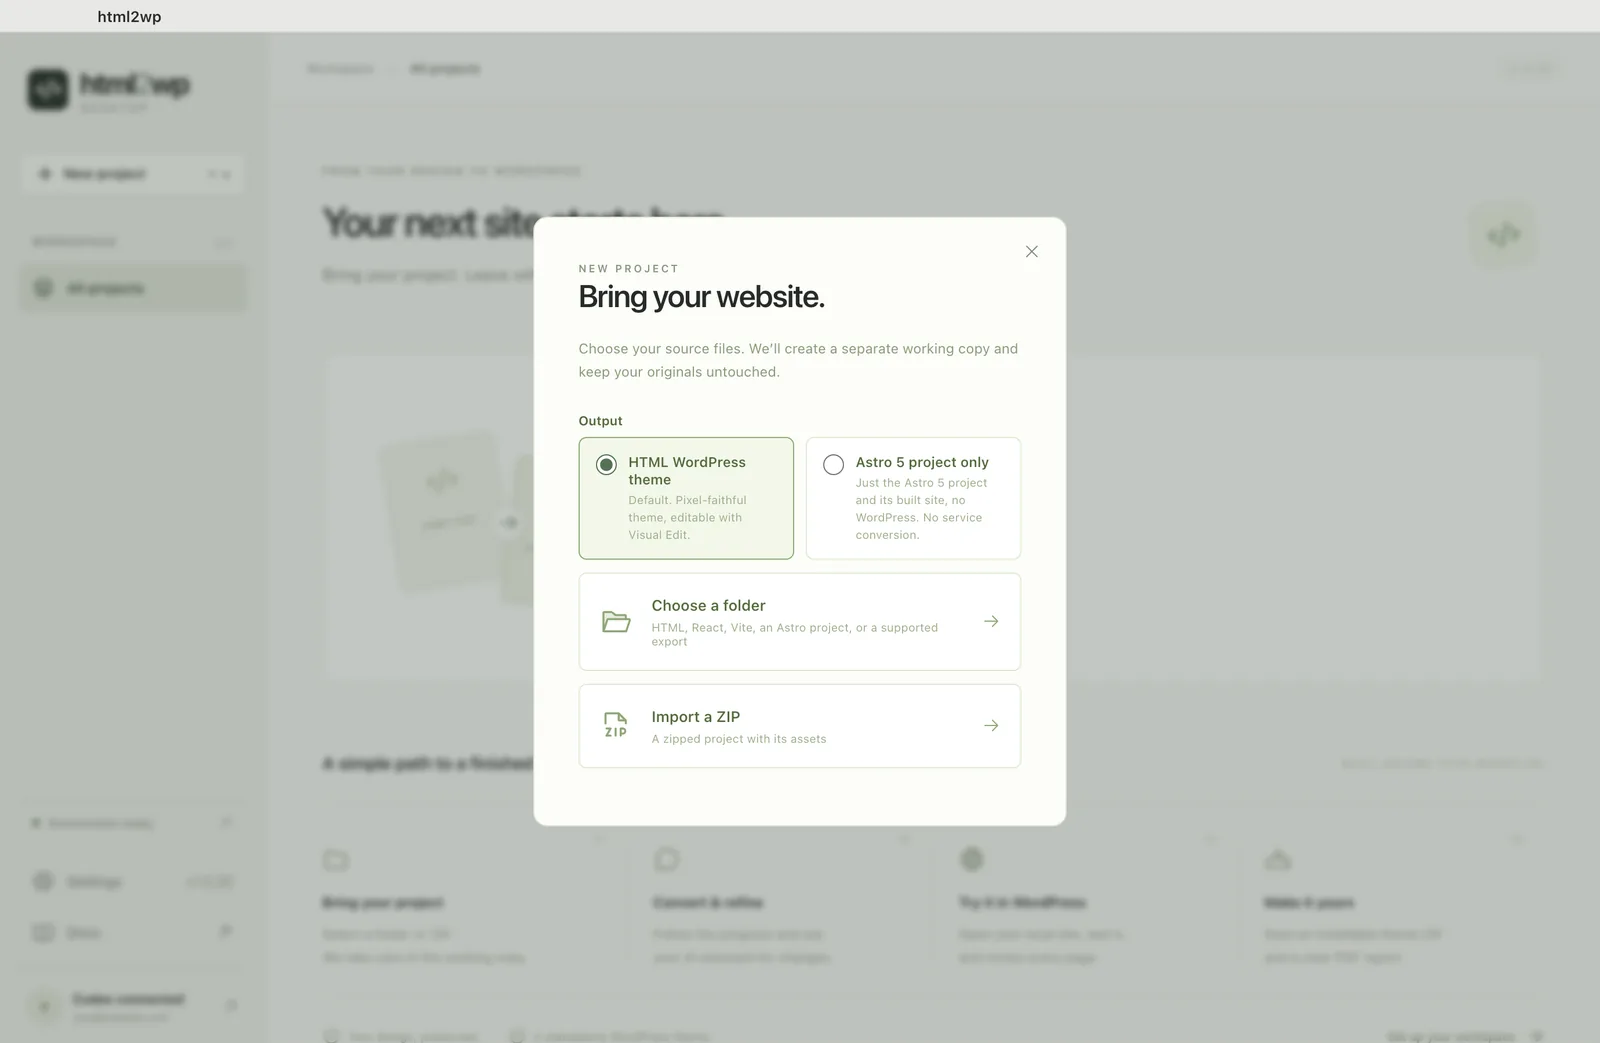
In the app, click New project (⌘N). Under Output, keep HTML WordPress theme and choose Import a ZIP, or Choose a folder if you have unpacked the project. The app works on a copy, so your original files stay unchanged.
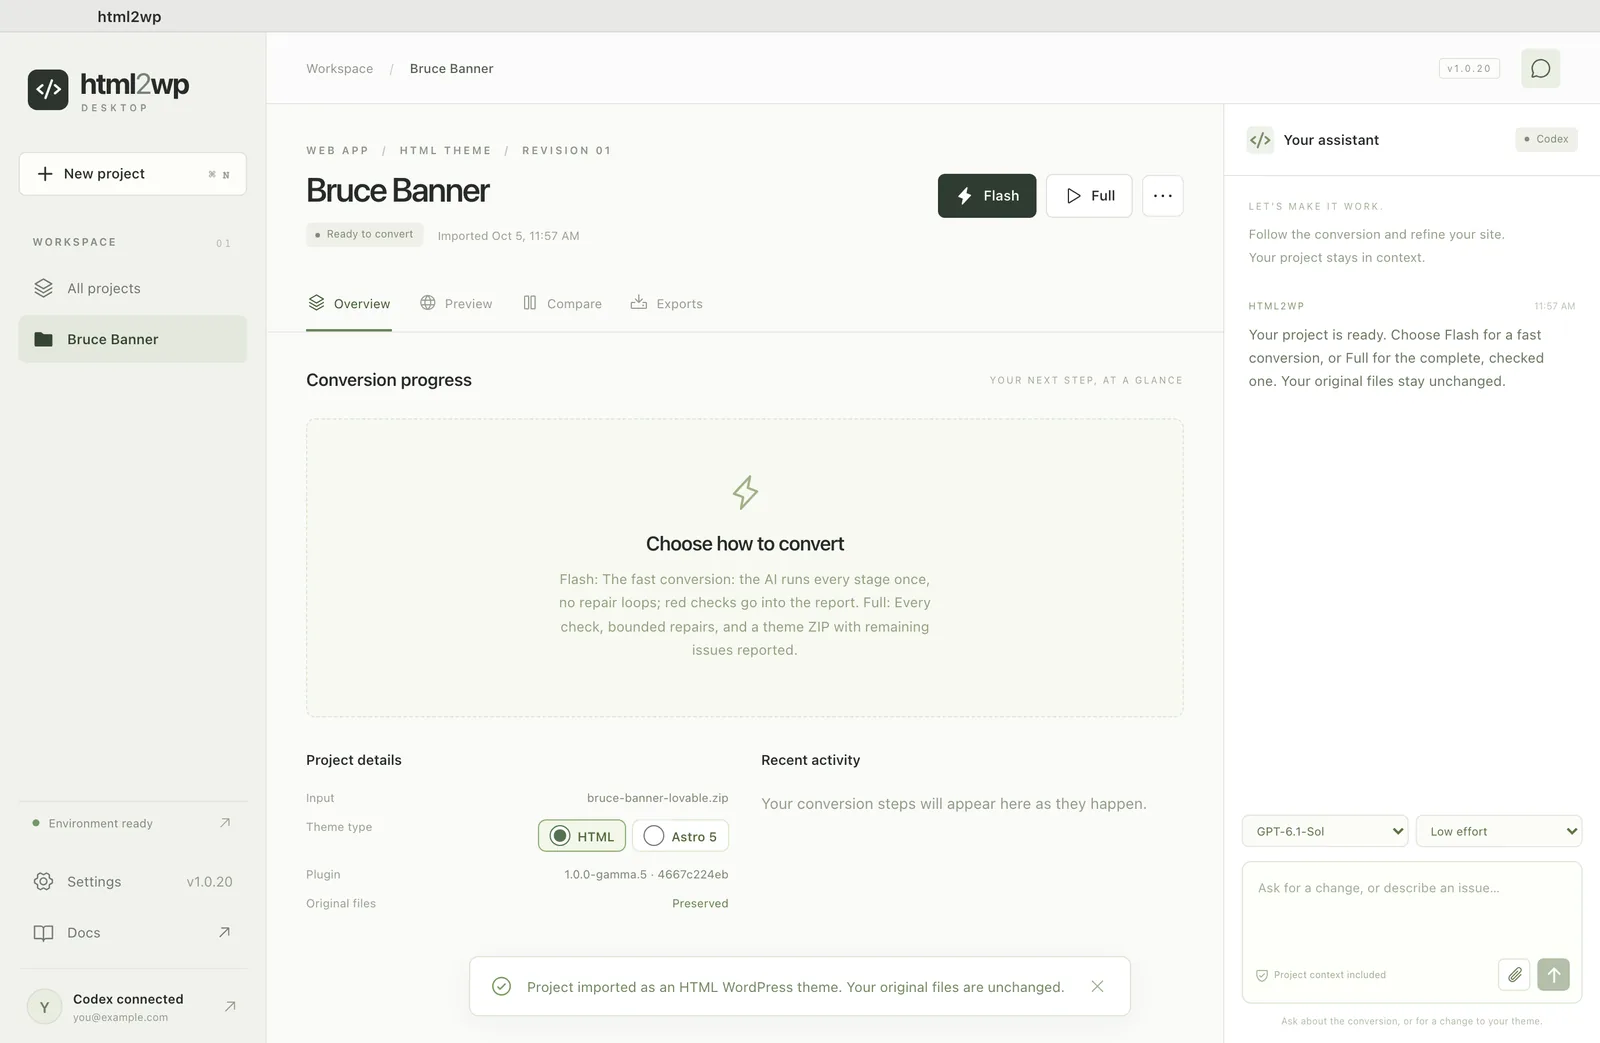
Flash or Full to convert Lovable to WordPress
On the project screen you choose how thoroughly the app should convert the Lovable site to WordPress. Flash is the default: each step runs once, and it takes about half an hour. Full runs every check and tries to fix the errors it finds, so it takes about an hour. The exact time depends on the number of pages and on how fast your Mac is.
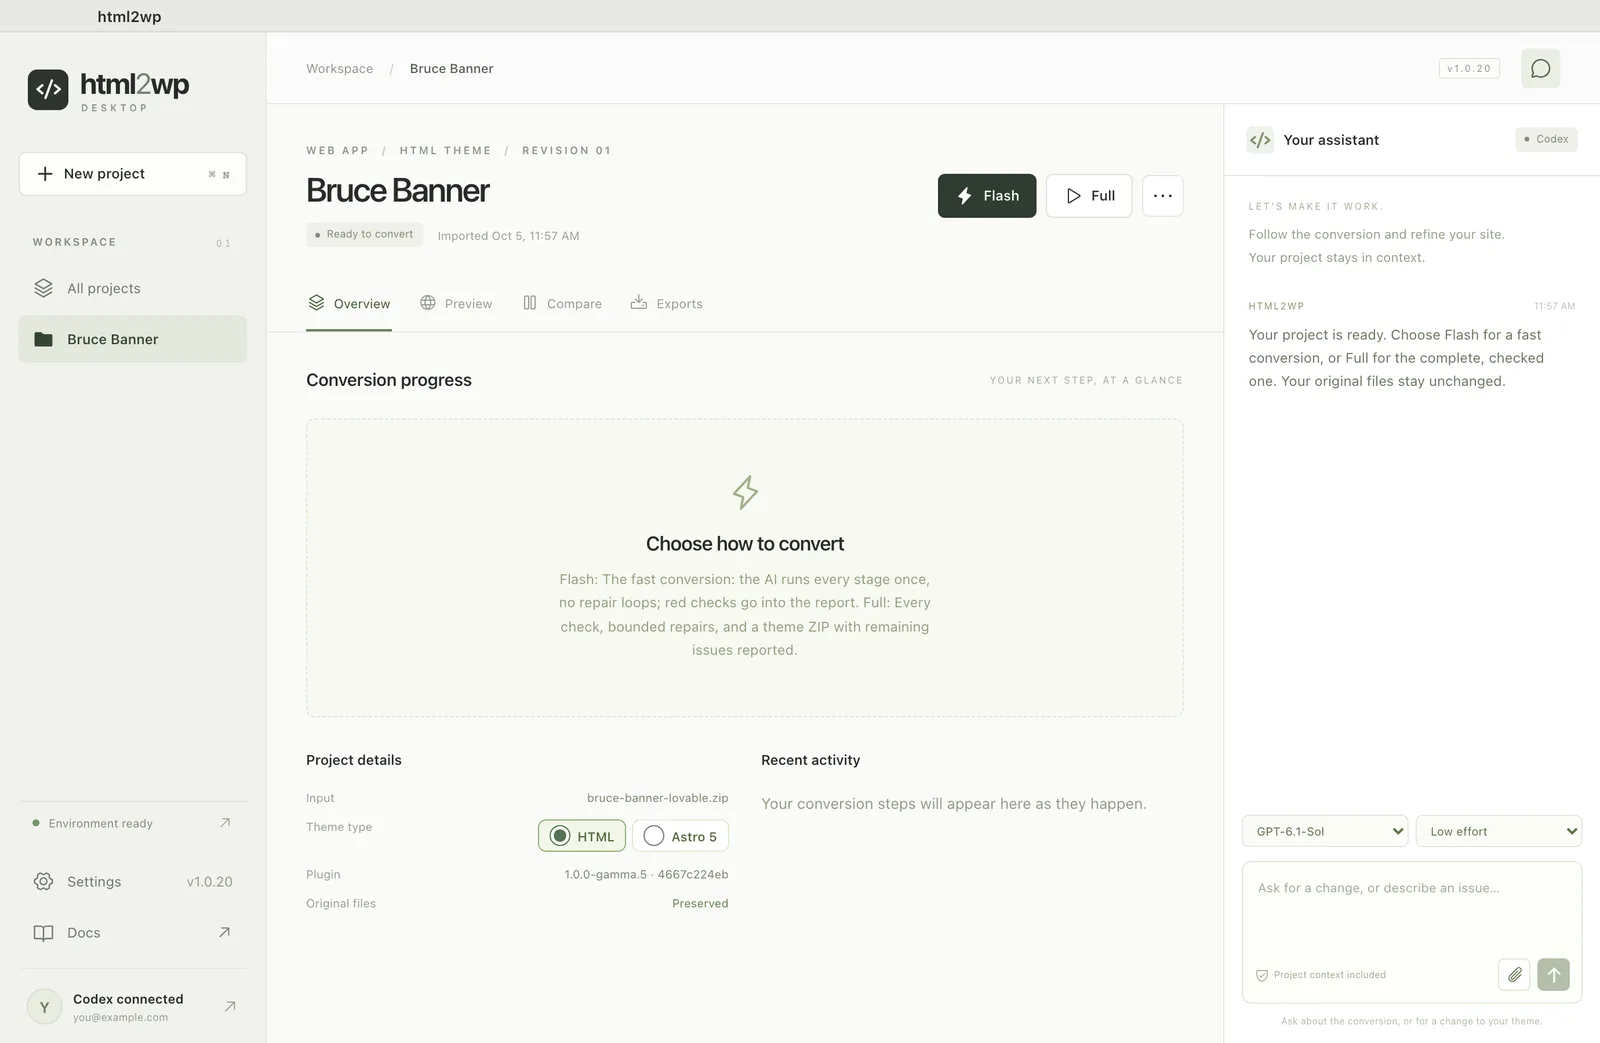
If you don't need WordPress, switch the type to Astro 5. The app then builds a static site, and you can deploy it to Cloudflare Pages straight from the app.
How the conversion runs
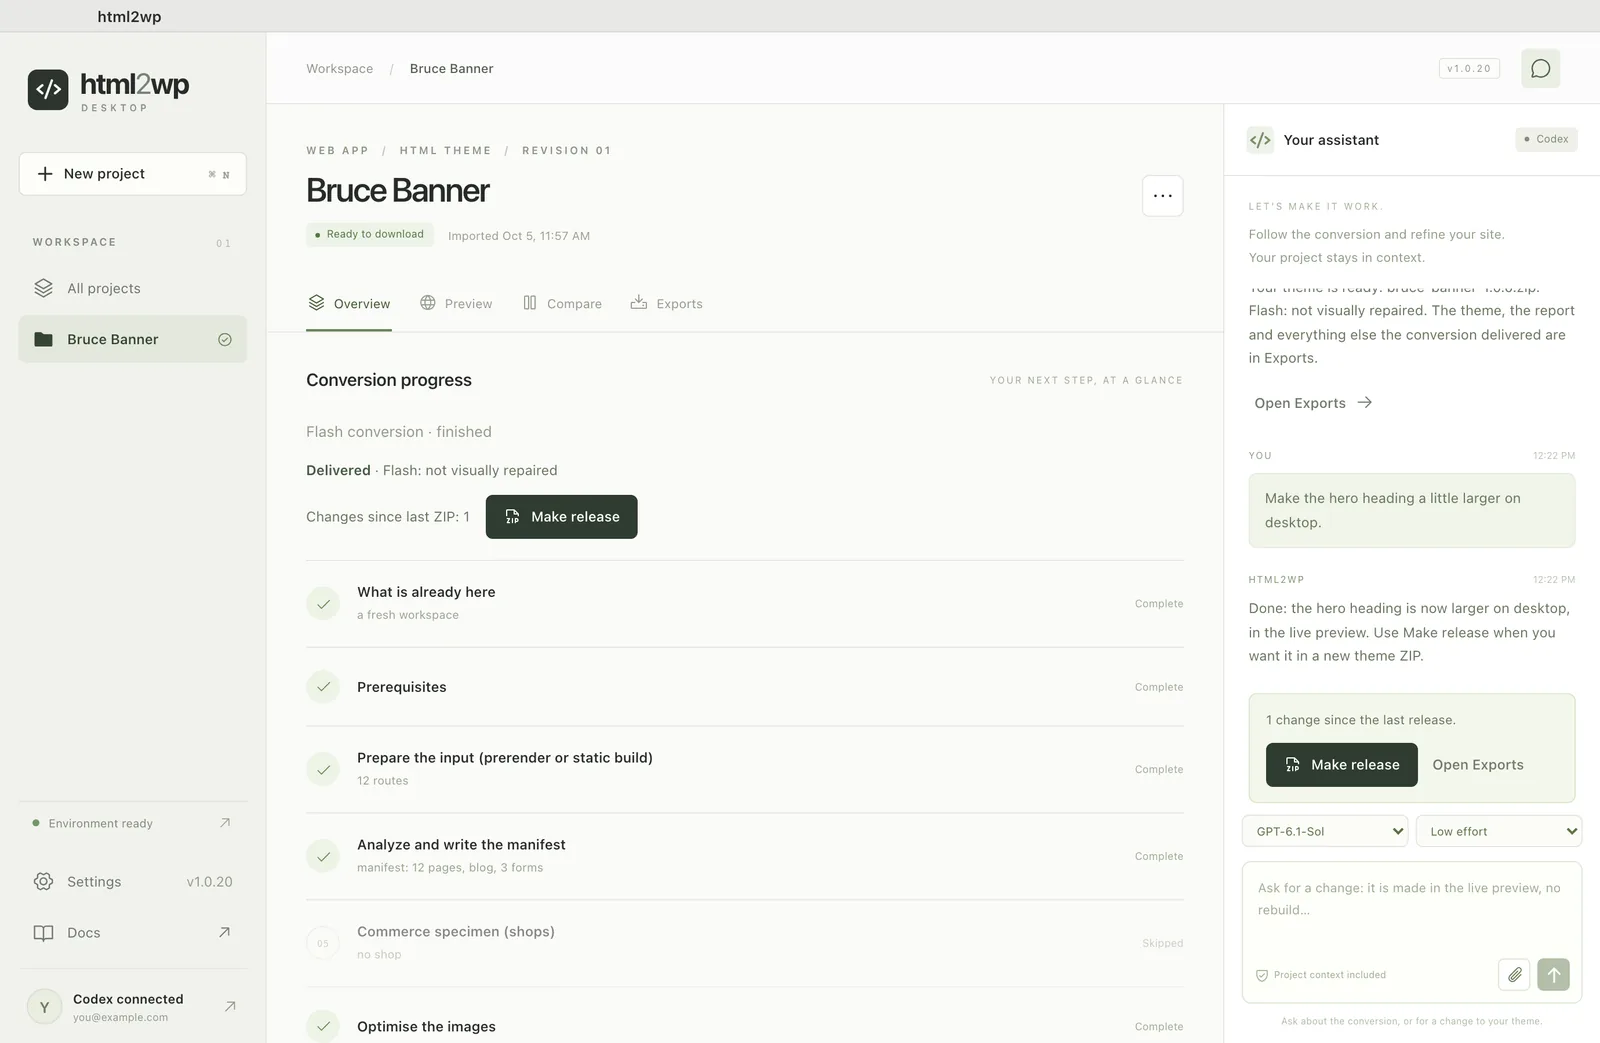
During the conversion, the Overview tab shows the steps the conversion plugin is working on and the fixes it made on its own. Most of the time it runs without you. Whether the Lovable project is an older React app or a newer TanStack Start project, the app first builds it, opens it in a browser and saves each page as finished HTML. Only then does it turn that HTML into the theme.
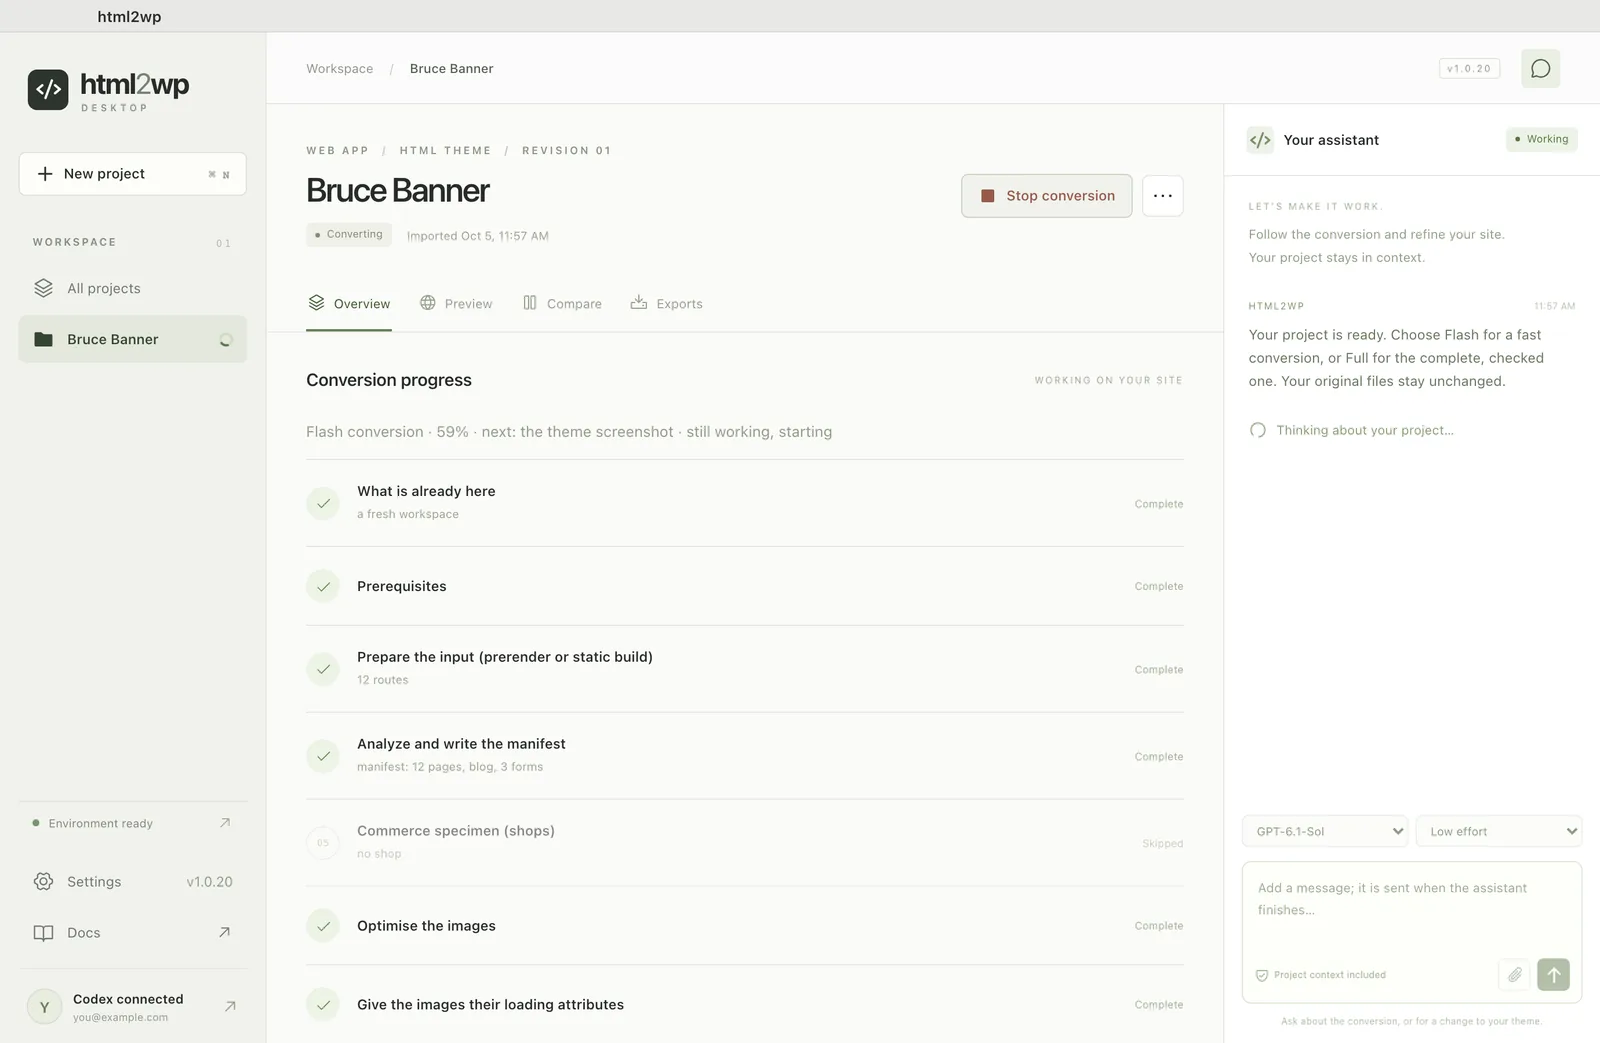
To pause, click Stop conversion, then pick it up again with Continue. If the plugin stops on a step by itself, Repair and continue lets it fix the error and carry on.
Checking the Lovable site against WordPress
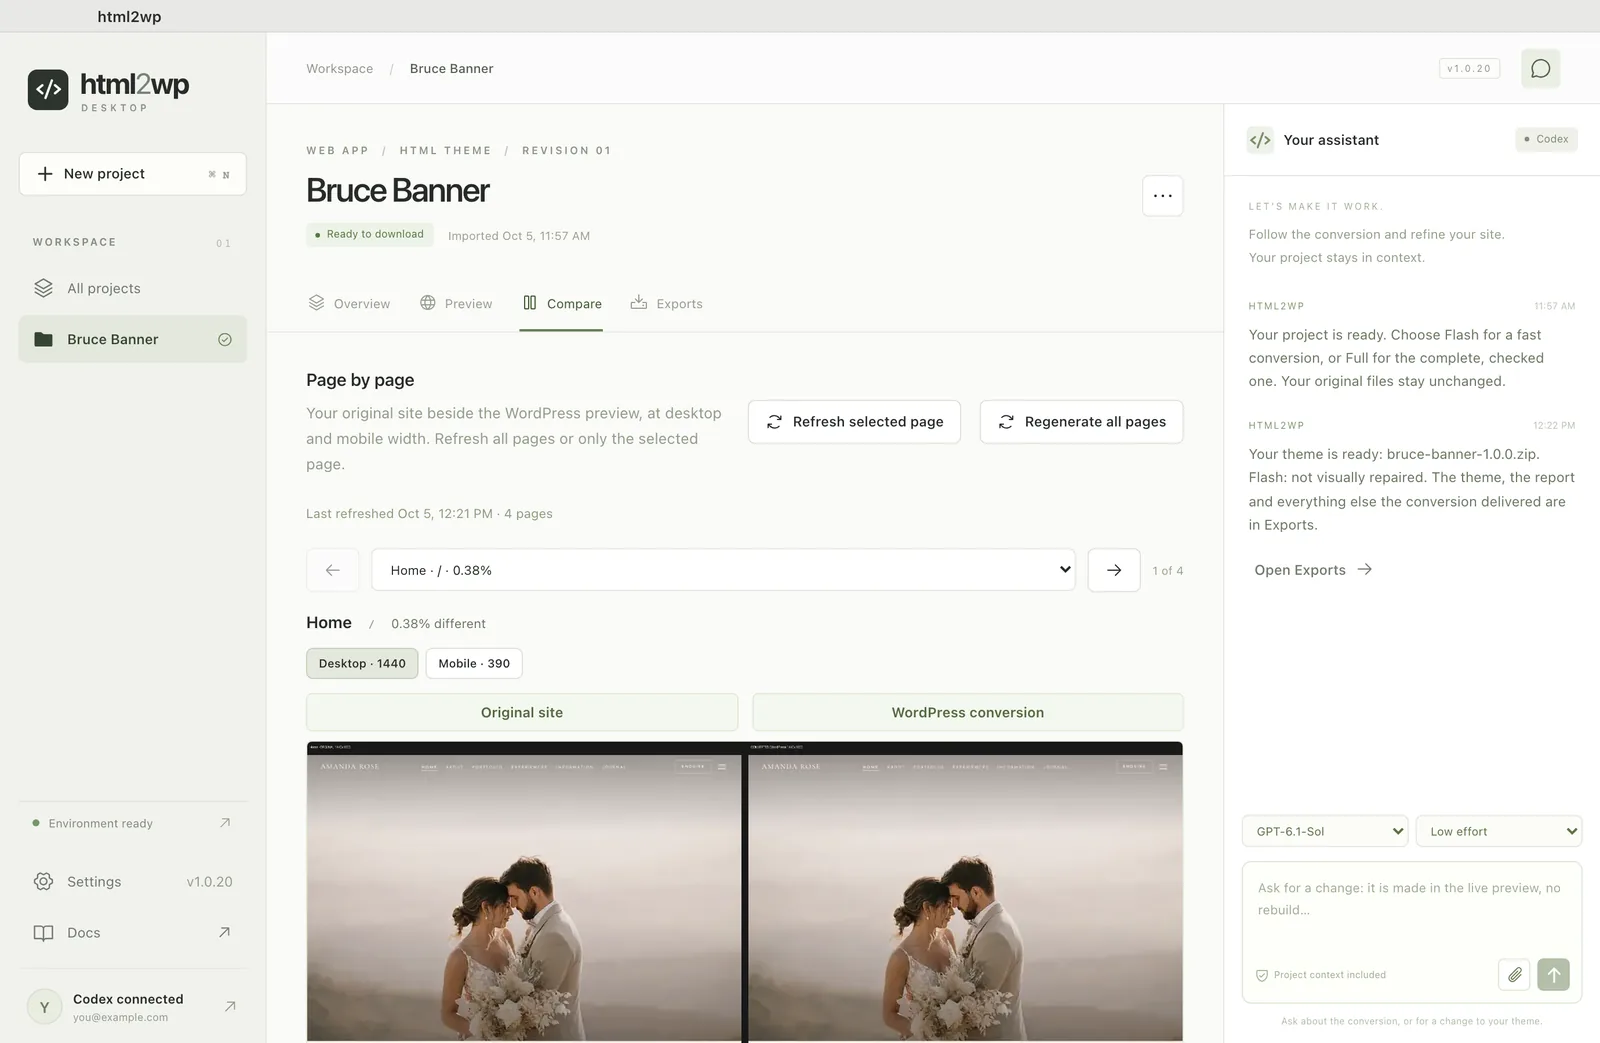
The Compare tab shows each page of the original next to the WordPress version, at desktop width (Desktop · 1440) and mobile width (Mobile · 390), with the difference as a percentage. Look through every page yourself. Automatic checks catch most differences, but not all: in one conversion a whole section was missing and the difference was only 0.4%.
In the Preview tab, Open website opens the local WordPress site and WordPress admin opens its dashboard. If you want to change something, type it into the chat on the right. The change shows up right in the preview within a few seconds. Then click Make release, and the app packages the theme exactly as you see it in the preview.
Convert Lovable to WordPress: exporting the theme
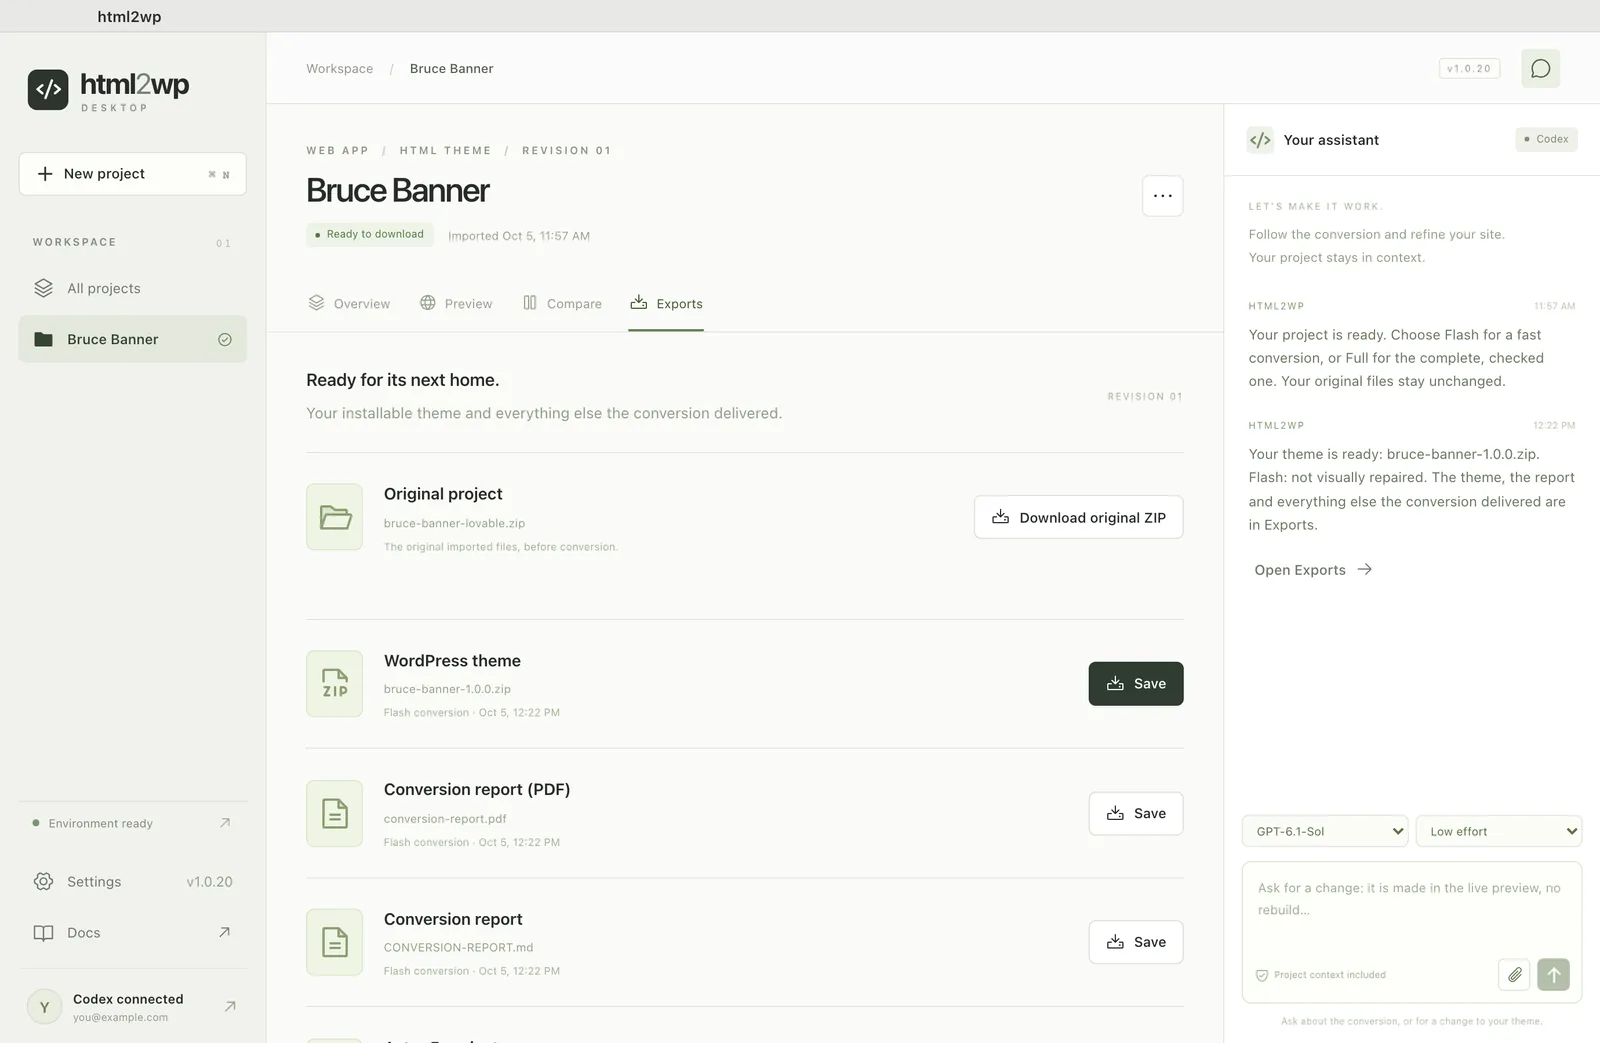
Once you convert Lovable to WordPress, the finished files are in the Exports tab. Next to the WordPress theme, click Save and store the ZIP. You also find the conversion report as a PDF, the original project ZIP and, after a Flash conversion, an Astro 5 project.
In WordPress, go to Appearance → Themes → Add New → Upload Theme, choose the ZIP and activate the theme. Pages, blog, forms, menus, SEO and redirects are all part of the theme and work without a plugin.
If you want your client to edit text and images by clicking right on the page, add the Visual Edit editor. If you prefer working with an agent in the terminal, the guide with the plugin for Claude Code and Codex covers the same conversion.